Thursday, February 13, 2014
Bookcases Project The Shelves

I had to design the cases to fit an existing space between an outside wall with a door close to the wall the cases were going on, and a fireplace. There was also a doorway in the wall that was not centered. As a result, the two sides are different widths. The right side is about 51" wide and the left 42". That made the shelves on the right about 48" wide and that is a bit long for a simple shelf that will hold books. After considering various shelf designs, I settled on a torsion box design that would be light weight, but not too thick, and would be more than stiff enough to prevent sag.
 | ||
| Drawing of shelf with top skin removed. |
 |
| The jig, cauls and some of the clamps ready to start making a shelf. |
 |
| Ribs and ends laid out. |
 |
| Tacking with the pin gun. |

The skin was placed on the jig with the waxed side down, glue was applied to the parts and they were laid out on the skin. Then the glue was applied for the other skin, and the skin slid in place under the clamp that was used temporarily to hold the edges together.

With that, the cauls and clamps were added and left on over night.


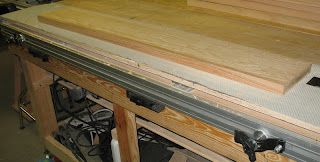
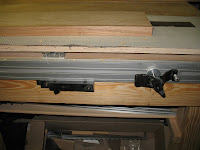
Next the shelf was cut to size, as I made them longer and wider than required. I then used a scraper to clean up any saw marks on the edges. A couple of stops to act as supports and two clamps in the SME on the edge of my bench made holding the shelf easy.


The final post gives a little background of the project and explains some of the decisions made.

Subscribe to:
Post Comments (Atom)
No comments:
Post a Comment